In this page, we introduce our laboratory.
There are staff room and working and experimental spaces.
Professor's office

Professor Gao's office.
Students discuss their researches with professor.
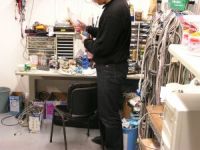
Research associate and technician's working space

Technician Mito's space.
Student's working space
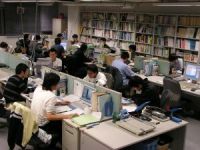
Students usually work at their own desks.
Tea break corner
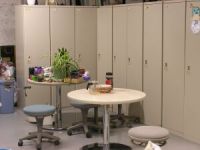
Staff and students enjoy a chat with drinking tea.
Laboratory
Temperature of this room is kept stationary.
Temperature-sensitive experiments are carried out in this room.
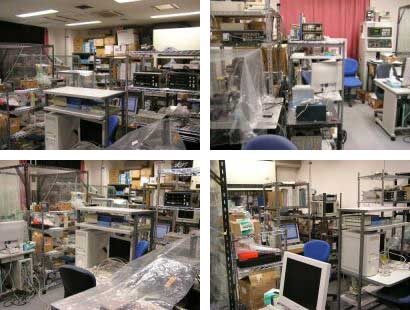
Diamond turning machine (ULC-100A Toshiba Machine Ltd).
Micro-structured surface can be fabricated precisely by this machine.
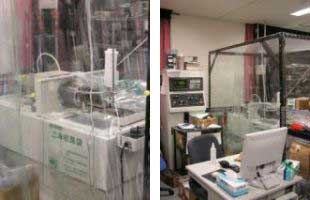
Footplate
We can make electric circuits for the research at this space.
Main facilities for research
-
 Micro-structured surface can be fabricated precisely by this machine.
Impedance analyzer
Optical spectrum analyzer
Dynamic signal analyzer
Function generator
Multimeter
Microscope
Laser interferometer
Capacitance sensor
Ultra precision laser displacement sensor
Optical fiber displacement sensor
Autocollimator
Laser Doppler Vibrometer
Beam scanner
Gauss meter
Low noise preamplifier
FFT analyzer
Air spindle
Air slide
PZT stage
Data recorder
Digital oscilloscope
Pooler
Constant temperature dryer
High precision thermometer
In addition, the following facilities are installed on the 1st floor.
-
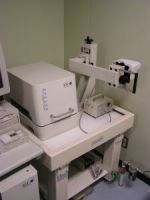 Scan size: 20 µm × 20 µm (Standard scanner)
Resolution: ~ 4-5 nm
Sample size: Φ15 mm (Max.)
SPM mode: AFM / DFM (DFM option)
Replacement scanner: 150 µm × 150 µm
Reference: SII Nanotechnology Inc.
-
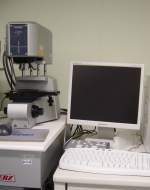 Observation and measurement method: Confocal laser displacement sensor・o
(Violet laser 408 nm・Halogen lamp)
Observation magnification: ×200~×18000
Maximum sample size: h 28 mm, Φ318 mm Fully observable
Hight measurement: resolution 0.01 µm
Width measurement: resolution 0.01 µm
Display resolution: 1024×768 pixels
Reference: KEYENCE CORPORATION
-
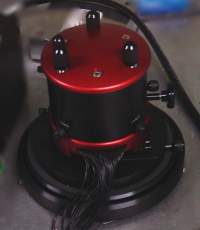 Scan size: XY 90 µm(Closed loop)
Z 10 µm
SPM mode: Tapping AFM Phase imaging
Contact AFM Force modulation etc.
Sample size: Φ50 mm
thickness less than 5 mm
The optical sensor for probe control and the scanner are integrated.
When measuring a thick specimen, prepare a specimen stand.
Reference: Veeco Instruments
-
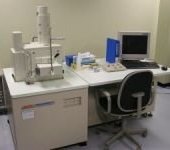 Acceleration voltage: 0.3 kV~30 kV
Resolution: 3.0 nm (30 kV)
Low vacuum mode: 4.0 nm (30 kV)
(Low vacuum pressure: 1~270 Pa)
Image mode: Secondary electron image(Compositional image, Uneven image, Stereoscopic image)
Maximum sample size: Φ200 mm, Height 80 mm
Reference: JOEL Ltd.
-
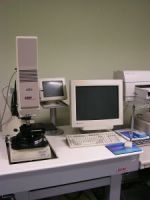 Measurement principle: Scanning white interference method
Sample observation: Real time video monitor
Camera size: 320×240 pixels
Vertical resolution: 0.1 nm
Horizontal resolution: 0.46 ~ 4.87 µm (Depends on objective lens)
Maximum vertical step: 100 µm
Reference: Zygo Corporation
-
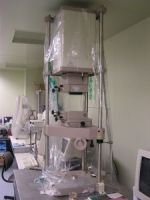 Measurement principle: Laser phase shift type optical interference system
Measurement capability: Overall smooth shape, high reflectivity surface, overall shape of optical surface measurement, transmission wavefront measurement of optical element
Sampling resolution: 320 × 240 pixels
Maximum sample size: h 28 mm, Φ318 mm Fully observable
Laser type: He-Ne gas laser
Wavelength: 632.8 nm
Reference: Zygo Corporation
-
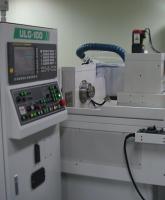 Control axis: 4 axes
(X axis,Z axis,Y axis(tool adjustment),Work spindle C axis)
Minimum setting unit: X,Y,Z 1 nm, C 0.0001°
Work vacuum chuck surface: Φ100 mm
Reference: TOSHIBA MACHINE CO.,LTD
Workshop
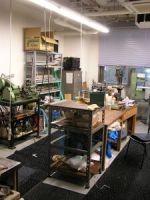
In this room, there are machines to manufacture parts of experimental setup. Students in the laboratory can use these machines.
-
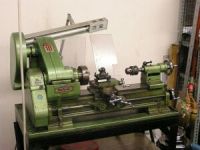 Lathe is a machine which spins a workpiece and operates cutting or drilling by a tool that is applied to the workpiece.
-
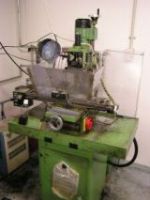 Milling machine is a machine which cuts fixed materials by a rotated tool.
-
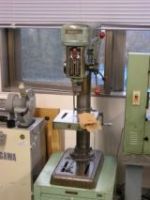 Drilling Machine is a machine which creates holes in a workpiece.
-
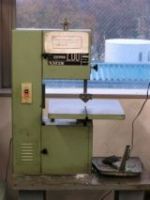 Fretsaw is a machine which cuts a workpiece by a band saw.
-
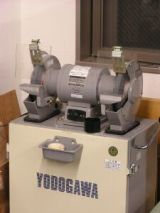 Grinding machine is a machine which polishes a workpiece or tools using an abrasive wheel rotated at high speed.